Integrating Apps with Smarter Contact in Zapier
Please follow the instructions below to link your Smarter Contact account and your third-party app.
If you use more than one app, you can perform these steps for each one to link them individually. However, only one integration can be activated at a time.
Check the video for a quick tutorial or follow a step-by-step guide below:
- Log into your Smarter Contact account.
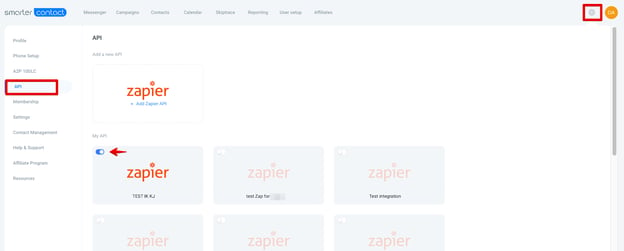
- Click on the Settings wheel and go to API page
- Click on +Add Zapier API link

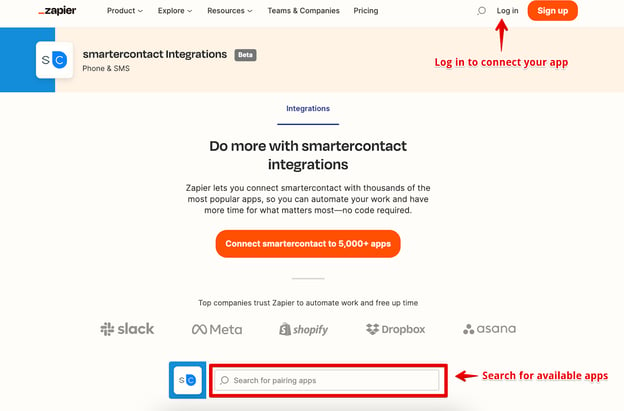
You will be redirected to the Smarter Contact Integrations Zapier page. - Log in or check apps available for zaps on the home page:
- Click Create Zap button or go to All zaps to edit existing ones:

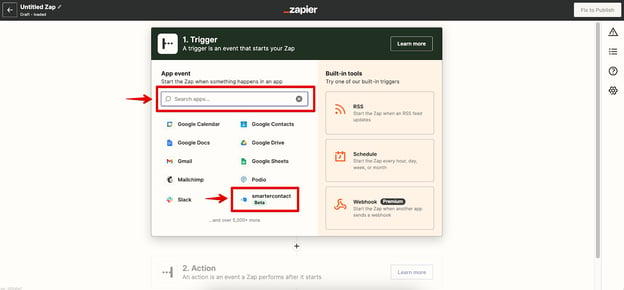
- Select the Suggested Trigger or search for the Trigger App:
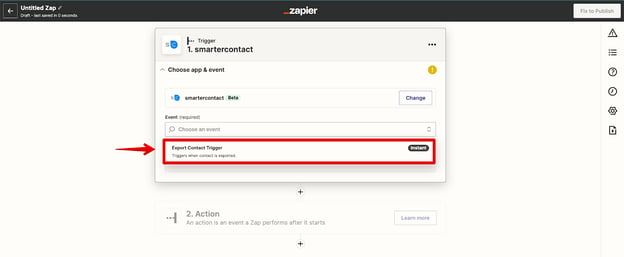
- In Choose an event field select Export Contact Trigger from the drop-down:
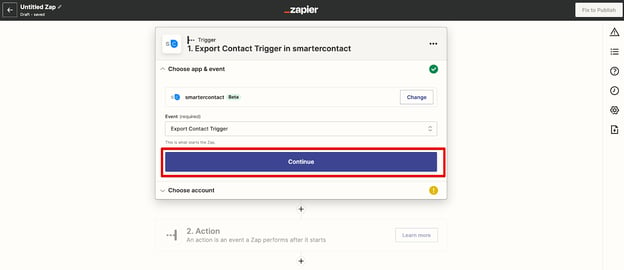
- Click Continue:
- Proceed to Choose an account or +Connect a new account:
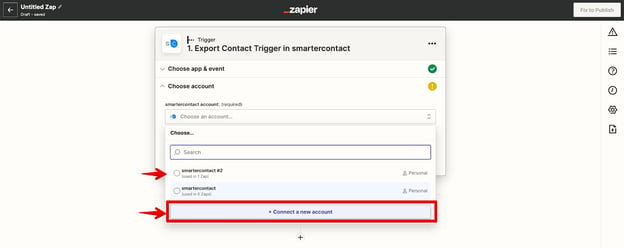
- Choose an account and click continue:

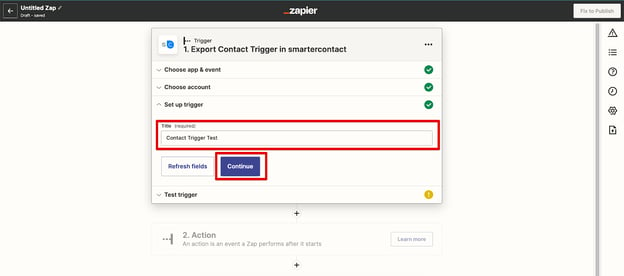
- Add Trigger title, and click Continue:
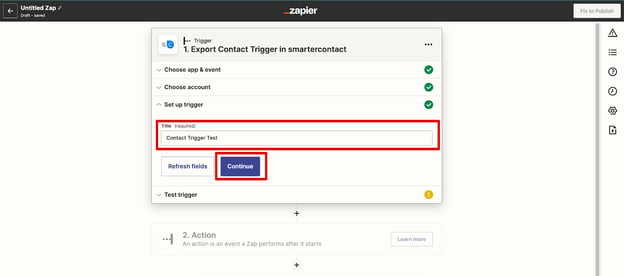
- Then click Test your trigger and check which info will be sent to your connected app from Smarter Contact. The format is Field name: Data sent. If all the data corresponds to the field, click Continue:
- Select the Suggested Action or search for the Action App (We select Podio and will show the connection process of this app. The process is similar for most CRMs):
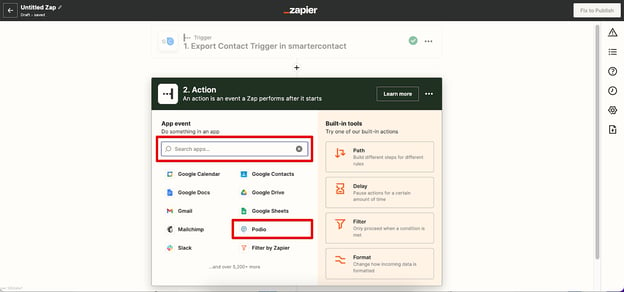
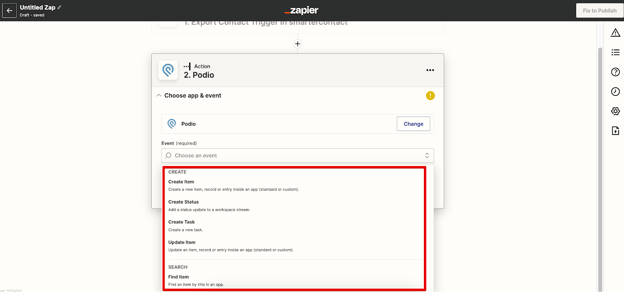
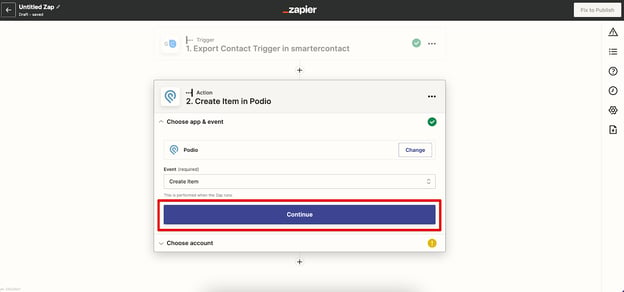
- Choose the event for the app selected from the drop-down and click Continue (We choose to Create item):
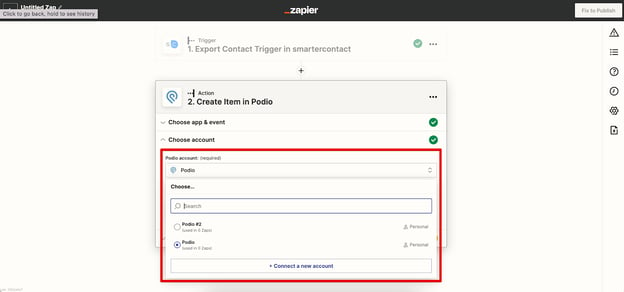
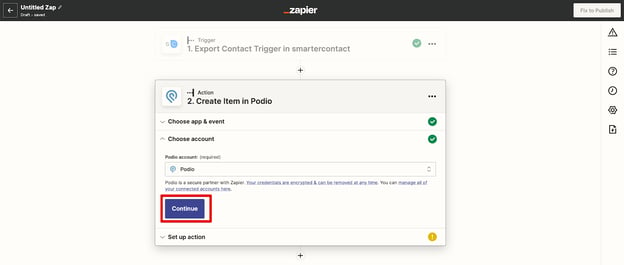
- Choose the account or +Connect the new account, and click Continue:
- Set up Action by choosing Organization, Workspace, and Application:
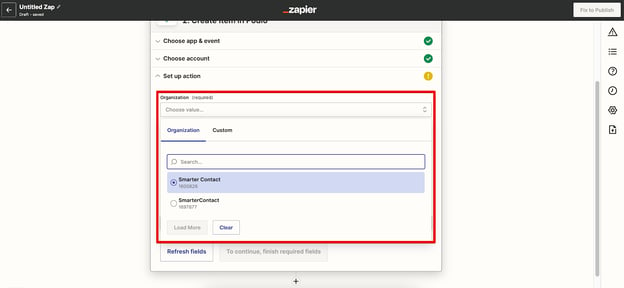
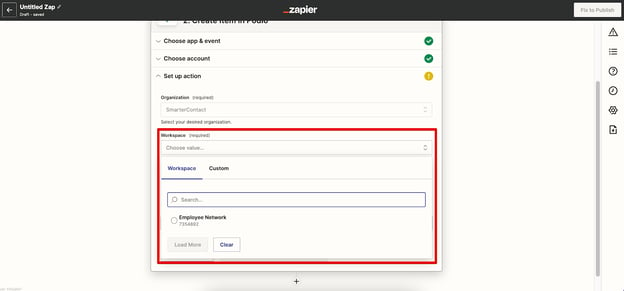
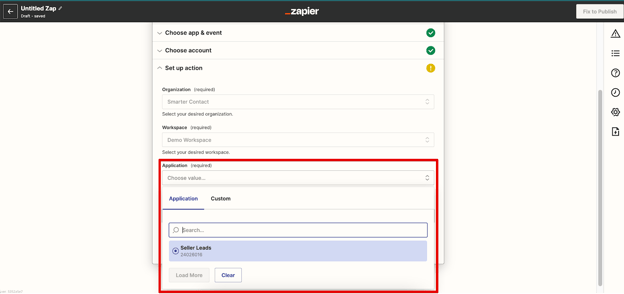
- Map the fields from Smarter contacts to the fields from Podio:
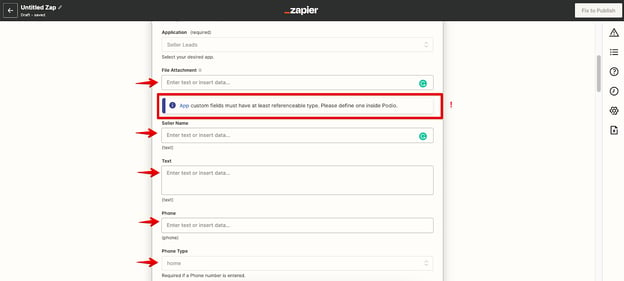
- Select from Suggested fields in the drop-down:
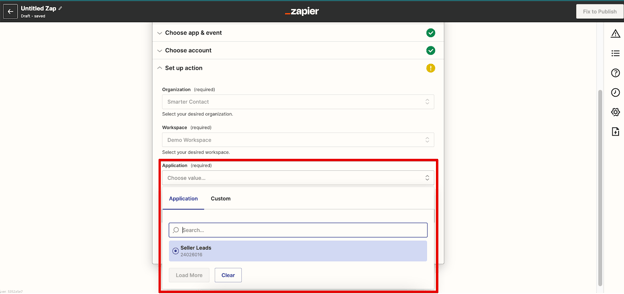
You can map several fields from Smarter Contact side to one app field:

- Click Continue to apply the fields' mapping:
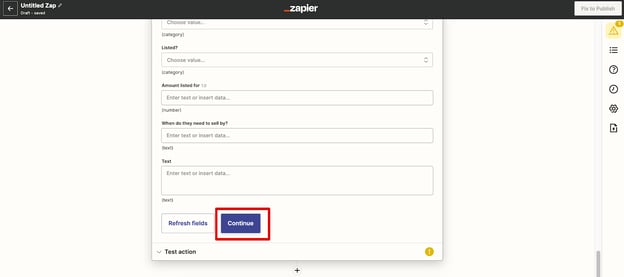
- Then, you can Test actions by clicking Test & Continue:
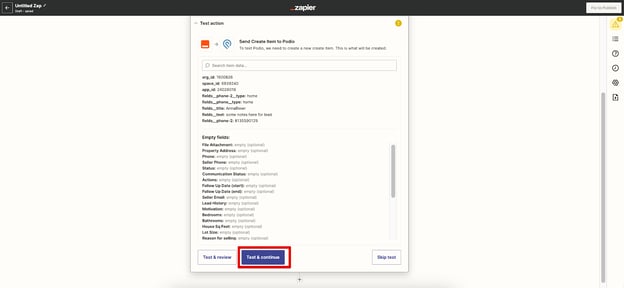
- Once the test is completed successfully and all the data matches the mapped fields, you can click Publish Zap.

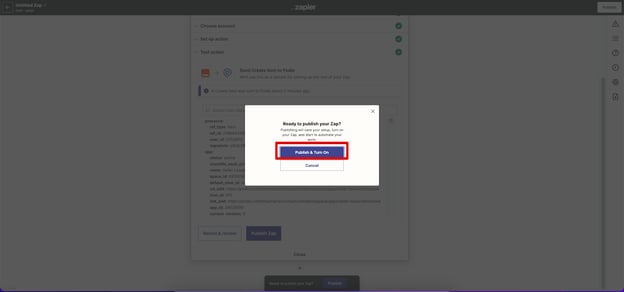
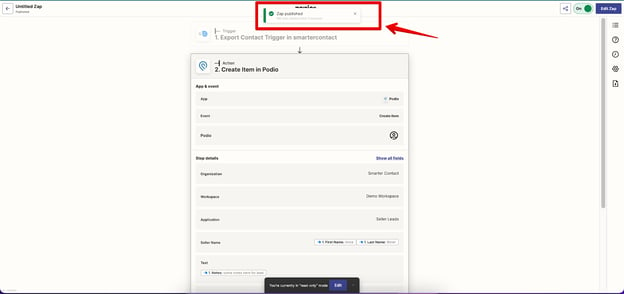
- Once the set-up in Zapier account is done, you will see that Zap status is On.

In your Smarter Contact account > Settings > API, you will see the zap toggle is enabled.
NOTE:
You can check if Zapier supports your app by searching for it here.
If you cannot find it in the drop-down, it's not available on the free version of Zapier. You can Contact Zapier support to learn more about supported apps.
Learn more about Pushing Lead Info to CRM.